Another quintessentially Macedonian dish. Alongside ayvar, this is another preserve that is made in autumn to last through the winter when there are no fresh peppers and tomatoes.
The only thing is that here in Australia we have fresh peppers and tomatoes all year around so I don’t have the need to make large quantities. I only make enough for consumption right away.
There is another version of the pindjur that my mum used to make as well and that one had egg plant as well. This one has only 2 main ingredients (vegetables): peppers and tomatoes.
Ingredients:
1.2 kg peppers (red work the best even though I had a mix of red, green and yellow)
500 gr fresh tomatoes chopped up (or 1 can of crushed tomatoes)
3-4 garlic cloves
handful of parlsey
Salt to taste
Around 100 ml oil
Preparation:
Roast the peppers.
Peel and chop them up.
Place them in a deeper fry pan and add about 50 ml of oil.
Place on the heat, allow it to start cooking, reduce the heat and fry until the juices start evaporating.
Wash and chop up the tomatoes.
Add to the pot (or add a can of crushed tomatoes).
Continue frying and adding oil until everything starts coming together.
Dice the garlic and add to the pot. Continue frying for few more minutes.
Wash and chop up the parsley. Add to the pot and continue frying until it collapses.
Season with salt to taste and fry for few more minutes.
If you wish to make larger quantities to keep for longer, fill it in sterilized jars and store in a dark, cool place.
Serve with lots of crusty bread and feta cheese, as a bread topping, in sandwiches or as a garnish for roasts and BBQ meats.
Beans are frequently on the tables, especially on Fridays and lent days. These here are oil and fat free. They are firstly boiled until tender and then crushed with a pestle so they are neither turned into a paste like a dip nor are left grainy. The consistency is lumpy and thick.
Ingredients:
3-4 garlic cloves
1 tea spoon salt
1/2 tea spoon pepper
1 cup uncooked beans
Water
1 onion
1 carrot
another 2-3 garlic cloves
2 bay leaves
2-3 red peppers (either dry or fresh)
Parsley for garnish
1/4 tea spoon smoked paprika
Preparation:
Rinse the beans under cold running water.
Drain and place in a deep pot.
Dice the onion and 2-3 garlic cloves and add them to the pot.
Peel and cut the carrot in half, add it to the pot.
Add the bay leaves and the whole, de-seeded peppers.
Pour water 3/4 up to the top of the pot.
Place on the stove, bring to the boil, reduce the heat and simmer on low until the beans become tender.
If you need to add more water add boiling water (same temperature as the boiling pot, adding cold water will cause the beans to let go of their skins and you’ll end up with skins like membranes floating around).
When the beans are cooked, remove from the heat.
Discard the bay leaves.
You can either mash the carrot with a fork and return it to the pot or remove it (I removed this time because my beans were too thick).
Take the peppers out and remove their skins, return the flesh to the pot.
Take the other 3/4 garlic cloves, chop them up and place them in a mixing bowl.
Add 1 tea spoon of salt and crush it with a pestle.
Add 2 cups of boiled beans, one at a time and crush them with the pestle.
Work them until they become thick and lumpy.
Taste test and adjust the seasoning.
Transfer it to a serving dish, sprinkle with smoked paprika and chopped parsley.
Also, optional, if you wish to top it up with chocolate:
100 gr chocolate
2 table spoons oil
Preparation:
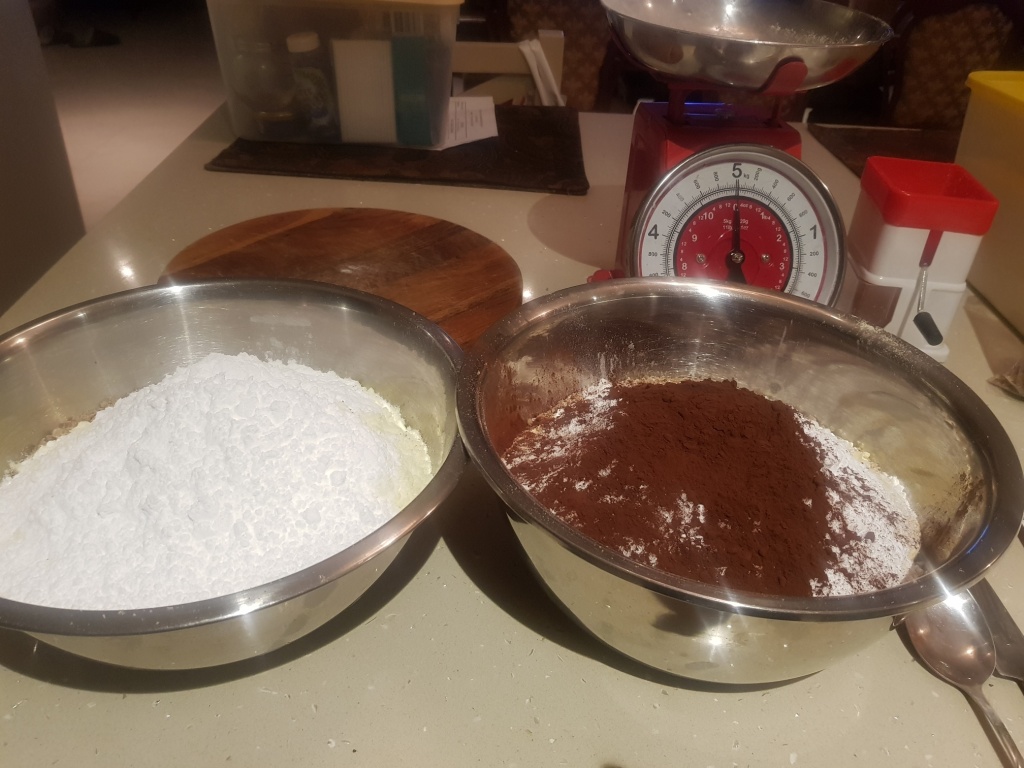
Blend the biscuits, one lot at a time and place each in a mixing bowl.
Do the same with the walnuts.
Add the milk powder and sugar in each bowl.
Melt the butter and add it in each bowl.
Mix it with a spoon first and then start kneading it with your hand.
The dough is crumbly at first.
Start adding milk and kneading until the dough becomes sticky.
Repeat the same with the other half of the ingredients.
Line a tray with baking paper and spread the lighter part. Press it with your finger tips first then place another piece of baking paper on top and using a spoon smooth it and even it up.
Repeat the same with the dark dough.
Cover it with plastic foil and let it sit in the fridge overnight.
The next day, you can, if you wish, spread melted chocolate over the top and once it sets then cut it in pieces.
To melt the chocolate: only add the 2 table spoons of oil to the broken up chocolate and heat it over steam while stirring until it becomes smooth.
You can leave it naked and cut it up as is.
Also, you can use different shaped containers to set it in and then cut it up in different shapes. I have in the past used a semi circled baking tin and it looks realy nice.
You can also use candied flowers or other shapes to decorate each piece, I’ve used red sugar hearts and placed each piece in a paper cup.
Handy tip:
Use the oven metal grate to assist in marking the pieces so they all come out even. Place the grate over the tray.
Using a sharp knife run along the grates.
Turn the grates the opposite way and repeat.
Now that you have marked your pieces, you can finish cutting them to the bottom using a sharp knife. Wash it from time to time as the knife can become sticky.
If the pieces are too big for you, cut them once more in the middle and get bite size pieces.
Bayadera is suitable for freezing. Cut it up and freeze it in airtight containers.
Straight out of the freezer onto a plate, it takes no time to defrost
This one came out of mum’s old, grubby cook book. I haven’t made it in a long time because the kids don’t like raisins so I guess this will be my treat.
Ingredients:
500 gr Petit Beure biscuits (use dairy free for a vegan version)
100 gr sesame seeds
100 gr raisins
100 gr nuts (I used cashews this time but walnuts or hazelnuts work well too)
100 gr confectioners sugar
2 tablespoons dark cocoa powder
150 gr butter (margarine for Vegan version)
150 ml milk (any juice for vegan version)
Preparation:
Take a clean, dry shallow fry pan and place it on the heat on stove. When the fry pan heats up, add the sesame seeds.
Toast the sesame seeds while shaking the pan until they start changing color.
Very quickly transfer them to a clean, cold dinner plate to stop the cooking process as the sesame seeds can burn very quickly.
Set them aside and let them cool while you prepare the rest.
Blend the biscuits and put them in a mixing bowl.
Roll the cashews with a rolling pin to crush the bigger parts.
Take care not to overdo it, you need to have chunks of nuts.
Add them to the mixing bowl.
Chop up the raisins.
Add them to the mixing bowl as well.
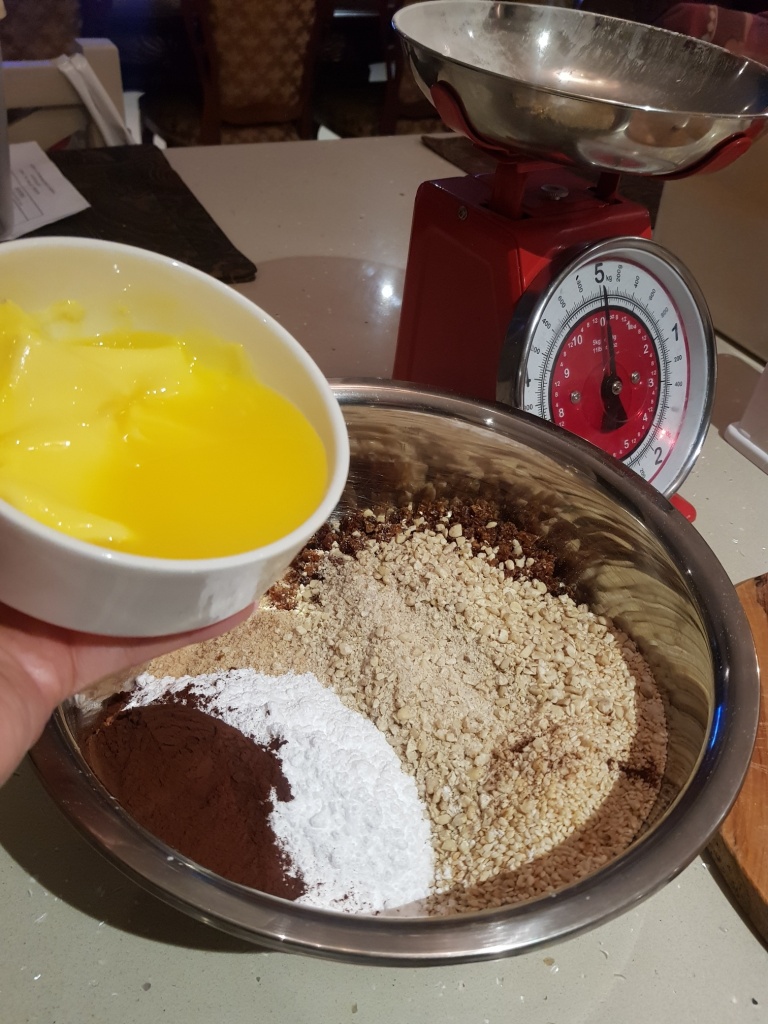
Add the cocoa and the sugar to bowl.
Add the cold sesame seeds.
Melt the butter and add it to the mixing bowl.
Mix it with a spoon first and then start kneading it with your hand.
The dough is crumbly at first.
Start adding milk and kneading until the dough bonds and can hold shape.
Turn it onto the workbench and divide in 2 parts.
Using baking paper roll the parts of the dough into salami shape and then pinch the ends gently to give the salami a triangular shape.
Wrap them nicely in the baking paper.
Place them in the fridge for at least 2-3 hours to set.
Take them out of the fridge, unwrap them and cut them in small triangles, thickness of own choice.
They are suitable for freezing. You can either freeze the whole salami and cut pieces as you go or cut it all up and pack the pieces in container and then freeze them. This is my preference as when they are cut, all I have to do take out of the freezer as many pieces as I need.
You can if you wish cover them in melted chocolate but I love them naked like this.
Small, finger food sweets make great additions to dessert and grazing tables and for Slavas and celebrations. These can be made in a vegan version as well if using margarine, dairy free chocolate, vegan wafers and dairy free hazelnut spread.
Ingredients:
300 gr wafers/napolitanki (these below are dairy free and vegan)
250 gr roasted hazelnuts
150 gr dark cooking chocolate (this one below is dairy free and vegan)
100 gr hazelnut spread (this one below is a vegan hazelnut spread)
250 gr butter (margarine for a vegan version)
Preparation:
Using your hands, break the wafers into smaller pieces into a mixing bowl.
Crush the roasted hazelnuts and place them in the bowl with the wafers.
Toss them to mix.
Place the chocolate, butter and hazelnut spread in a sauce pot and melt them over steam.
Pour them into the mixing bowl.
Mix everything using a large wooden spoon or your hand if you have to.
Cover the bowl with plastic wrap and place it in the fridge for about an hour 9if you scip this step, you will struggle to form the balls as the mixture is rather crumbly otherwise).
Take it out and form balls.
Place them in paper cups.
If you wish, you can dip them in melted chocolate and sprinkle again with crushed hazelnuts but I like them as they are: rustic.
If you wish to dip them in chocolate, melt 150 gr chocolate with 3 tea spoons of oil.
They are so decorative and easy to make. No baking, no cooking. I’ve made them often for my Slavas. If you use vegan biscuits and margarine instead of butter, you can make them in a vegan version.
Ingredients:
500 gr Petit Beure (or similar) biscuits (use dairy free ones if making them vegan)
200 gr walnuts
100 gr butter (or margarine for the vegan version)
Around 1 cup lemonade or Solo (depending on the biscuits, sometimes less than a cup, sometimes more)
100 gr confectioner’s sugar
2 tea spoons pear essence
1 lemon rind
1/2 tea spoon ground cloves
Whole cloves
Preparation:
Blend the buscuits in the blender and put them in a mixing bowl.
Blend the walnuts in the blender and add them to the biscuits.
Melt the butter and add that to the mixing bowl as well.
Add the remainder of the ingredients other than the lemonade (Solo).
Mix everything with a spoon first and then start adding lemonade (Solo) while you knead it with your hand.
Knead until it starts binding and can hold its shape.
Using a tea spoon as measure, scoop from the dough and form a ball.
Using your index finger and thumb pinch gently to form the pear.
Stick a whole clove on the top.
Place it in a paper cup.
Continue until you have used the whole dough.
Place them in a plastic container and let them air dry for at least few hours.
They’ll form a thin crust and become not sticky to touch.
My lovely hairdresser is a source of information. She can tell you anything from what the latest trends in hair fashion are to the latest food trends. In chatting abut getting ready for Easter and having to start the baking, she gave me a link to a recipe for these beauties, kreshenti.
The house smelled de-vi-ne when they were baking and I am so looking forward to tasting them; I intend to have my first cappuccino in 7 weeks with couple of these dudes.
I must give credit as the recipe was incredibly easy to follow. Here it is for my English speaking audience.
Ingredients:
For the dough:
350 gr flour
150 gr sugar
1 table spoon vanilla sugar
1 lemon rind
200 gr softened butter (not melted, room temperature)
2 egg yolks
1 egg
2 table spoons milk (in the original recipe it says rum and if you don’t like the rum flavor substitute with milk; as I didn’t have any, I added milk)
For applying the walnuts:
2 egg whites
150 gr grated walnuts
To stick them together:
100 gr chocolate
2 table spoons oil
Preparation:
Let the butter stand outside for couple of hours to reach room temperature. It shouldn’t be melted, only soft.
Switch on the oven to warm up.
Place it in a mixing bowl together with the remainder of the dough ingredients: flour, lemon rind, vanilla sugar, egg, egg yolks, sugar and milk.
Stir it with a fork.
Then continue kneading it with your hand.
At first it it will be crumbly and little dry but slowly, as you knead it, the heat of your hand will help the butter loosen more and start binding the dough. Keep kneading until you get a soft and smooth dough.
Cover with plastic foil and set aside to rest while you prepare the rest.
Line a baking tray with baking paper, no need to oil it as they have butter and will also be rolled in walnuts thus will no danger of sticking to the baking paper. Set it aside.
Grate the walnuts and set them aside.
Whisk the egg whites and set them aside.
Now uncover the dough and form small balls. I used a little melon scoop as measure.
Now, here is what I did different:
The original recipe says that the balls shouldn’t be too big as they will be stuck together later with chocolate and the cookies’ size will double. Mine were slightly smaller than a walnut because I didn’t stick them together, I left them as is and only drizzled melted chocolate over them.
You can decide your preference.
Keep rolling balls until you’ve finished the dough and lay them on the work bench. I got 68 but if you make them just a touch smaller than mine, you can get 70 balls.
Place as many balls as you can fit in the bowl with the egg whites.
Roll them gently in the egg white using a spoon.
Gently take them out of the egg white using thongs and place them in the bowl with the grated walnuts.
Handy tip: do not use your fingers to handle them as the walnuts will stick to your fingers covered in egg white and you will only end with a huge mess. Use the spoon to roll them in the egg whites and the thongs to lift them from the egg whites and transfer them to the bowl with the walnuts. You can at this stage use your fingers to roll them in the walnuts and transfer them to the baking tray.
Bake in a preheated oven on moderate heat for 15 to 20 minutes or until they just start blushing.
Take them out of the hot baking tray and place them on a cooling rack to cool down to room temperature.
Now you decide if you’ll do what I did and only drizzle melted chocolate over them or you want to stick them together as they are in the original recipe.
To melt the chocolate: only add the 2 table spoons of oil to the broken up chocolate and heat it over steam while stirring until it becomes smooth.
I’ve placed mine in small brown paper cups. They look pretty rustic so I decided to keep their rustic look and with a tea spoon place odd sized chocolate drops on each.
I haven’t made yogurt at home since my mum passed away. I wanted her to eat only fresh, less additives food while she was sick and I used to make yogurt and cheese for her at home.
As we are only few days away from Easter, I wanted to break the lent fast with Tripe Soup/Shkembe Chorba and a glass of naturally fermented yogurt to be gentle on my stomach that hasn’t had any dairy, eggs or meat and has had very little to no oils and fats.
Ingredients:
1 l full cream milk
3-4 table spoons yogurt (I used commercial Greek style that can be found at any supermarket)
Boiling water
Pot (I used a ceramic one)
Towels and blankets
Sauce pot
Preparation:
Fill the ceramic pot with boiling water and set aside. This will warm up the pot for it to be hot and keep its temperature for longer to assist the fermentation process.
Pour the milk in the sauce pot and heat it up on medium heat. Test it with your pinky finger and when the temperature is that of your body (when you are unable to feel the pinky in the milk, it’s light and the temperature is not too hot nor too cold, remove it from the stove.
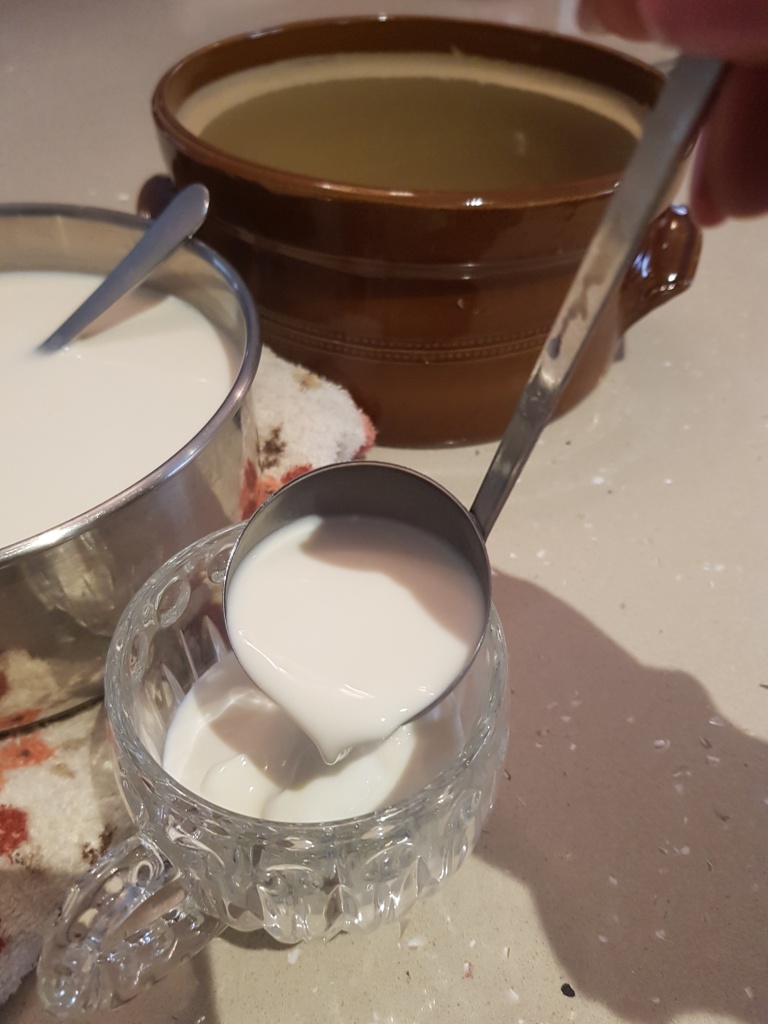
Pour a little bit of milk into the cup with the yogurt.
Stir to break up any lumps.
Add more milk and stir again.
Keep pouring milk and stirring until you get a smooth paste with no lumps.
Pour it into the warm milk and stir to combine.
Empty the water from the ceramic pot and pour the warm milk with the yogurt into the now warm ceramic pot.
Place the lid on. Set it aside.
Lay the blanket with a towel in a warm spot away from direct heat.
Place the ceramic pot in the middle and wrap it up with the blanket and towels.
Let it rest and ferment for at least 12 hours, depending on how tarty, acidy you want it.
For me, mild, creamy taste works best.
Remove the clay pot from the blankets and place it in the fridge to stop the fermenting process.
Note: there are some nice yogurt fermenting containers and gadgets which you can buy at housewares shops but I wanted to do it the old fashion way, the way I used to do it for my mum.


You must be logged in to post a comment.